OAK 可视化器
imshow() 函数的一个更灵活的替代方案,支持同时查看多个流以及交互式控件。目前,它在 Chrome 浏览器中得到完全支持。请注意,可视化器与 DepthAI API 配合使用,并与所有 OAK 设备兼容。请注意,可视化器的所有功能仅在 Chrome 中有效。所有浏览器都应支持 RAW 流。编码流及其相关功能仅在 Chrome 中得到支持,因为它们需要完整的 WebCodecs API,而目前只有 Chrome 能够以高质量和高性能提供该 API。
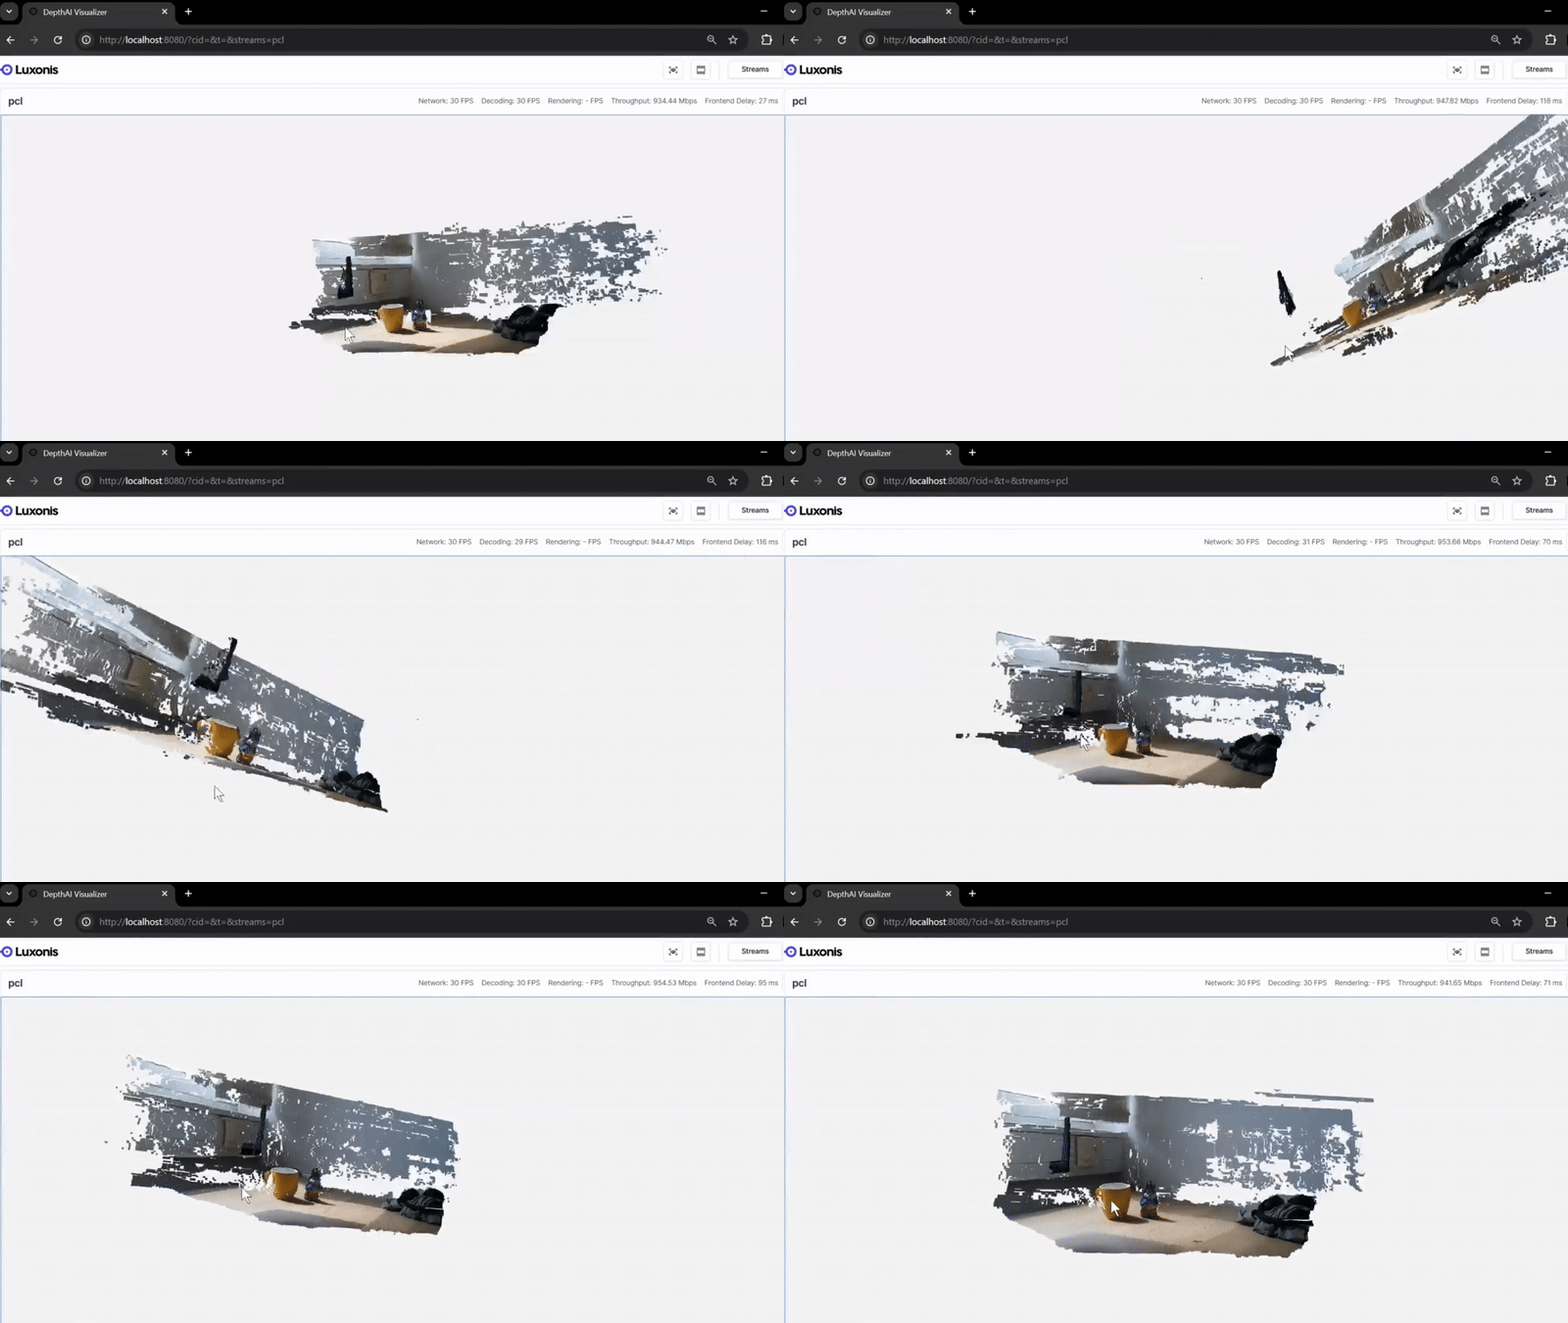
开始使用
Basic Setup
要使用可视化器,您需要在 DepthAI 应用中创建一个 运行此代码后,打开浏览器访问
RemoteConnection:Python
1import depthai as dai
2
3# 创建一个 RemoteConnection(可视化器服务器)
4visualizer = dai.RemoteConnection()
5
6# 创建流水线
7with dai.Pipeline() as pipeline:
8    # 创建摄像头节点
9    # 不带参数构建将使用默认摄像头
10    rgb_cam = pipeline.create(dai.node.Camera).build()
11
12    # 从摄像头请求分辨率为 1280x720 的 NV12 流
13    rgb_stream = rgb_cam.requestOutput(size=(1280, 720), type=dai.ImgFrame.Type.NV12)
14
15    # 将摄像头流作为主题添加到可视化器
16    visualizer.addTopic("rgb", rgb_stream)
17
18    # 构建并启动流水线
19    pipeline.start()
20
21    # 注册流水线图,以便在可视化器中显示
22    visualizer.registerPipeline(pipeline)
23
24    # 流水线运行时执行的主循环
25    while pipeline.isRunning():
26        # 检查可视化器中的按键输入
27        if visualizer.waitKey(1) == ord('q'):
28            # 如果按下 'q' 键,停止流水线
29 pipeline.stop()http://localhost:8080 即可查看流。功能特性
- 多路流同时查看 - 在浏览器中同时查看所有摄像头流
- 自定义消息队列 - 创建自定义消息队列,将数据发送到可视化器
- 远程查看 - 通过网络中的任何设备访问可视化器
API 参考
RemoteConnection 类
RemoteConnection 类是可视化器的主要接口:Python
1remote = dai.RemoteConnection(
2    address="0.0.0.0",      # 绑定的IP地址
3    webSocketPort=8765,     # WebSocket端口
4    serveFrontend=True,     # 是否提供前端UI服务
5    httpPort=8080           # Web界面的HTTP端口
6)
添加主题
Python
1remote.addTopic(
2    topicName="rgb",              # UI中显示的名称
3    output=rgb_stream,            # 要流式传输的节点输出
4    group="Cameras",              # 可选的分组名称
5    useVisualizationIfAvailable=True  # 如果存在,将调用输出对象的getVisualizationMessage方法以获取可视化信息。
6)Python
1rgb_queue = visualizer.addTopic(
2    topicName="rgb",              # UI中显示的名称
3    group="Cameras",              # 可选的分组名称
4    maxSize=2,                    # 创建的队列的最大大小
5    blocking=False,               # 创建的队列是否为阻塞队列的指示符
6    useVisualizationIfAvailable=True  # 如果存在,将调用输出对象的getVisualizationMessage方法以获取可视化信息。
7)
8# 向队列发送自定义数据
9rgb_queue.send(my_data)
与神经网络集成
Python
1# 创建神经网络节点
2nn = pipeline.create(dai.node.DetectionNetwork).build(
3    input=rgb_cam, # 用作神经网络输入的摄像头节点
4    model="luxonis/yolov6-nano:r2-coco-512x288", # 来自Luxonis Hub的模型标识
5)
6nn.setConfidenceThreshold(0.5)
7
8# 将神经网络结果添加到可视化器
9remote.addTopic("detections", nn.out, group="RGB")
示例应用
多摄像头流式传输
Python
1# 创建摄像头
2rgb_cam = pipeline.create(dai.node.Camera).build(dai.CameraBoardSocket.CAM_A)
3left_cam = pipeline.create(dai.node.Camera).build(dai.CameraBoardSocket.CAM_B)
4right_cam = pipeline.create(dai.node.Camera).build(dai.CameraBoardSocket.CAM_C)
5
6# 从摄像头请求NV12流
7rgb_stream = rgb_cam.requestOutput(size=(1280, 720), type=dai.ImgFrame.Type.NV12)
8left_stream = left_cam.requestOutput(size=(800, 600), type=dai.ImgFrame.Type.NV12)
9right_stream = right_cam.requestOutput(size=(1280, 720), type=dai.ImgFrame.Type.NV12)
10
11# ...
12
13# 将所有摄像头添加到可视化器
14remote.addTopic("rgb", rgb_stream, group="Cameras")
15remote.addTopic("left", left_stream, group="Cameras")
16remote.addTopic("right", right_stream, group="Cameras")
目标检测可视化
Python
1# 设置检测网络
2nn = pipeline.create(dai.node.DetectionNetwork).build(
3    input=rgb_cam, # 用作神经网络输入的摄像头节点
4    model="luxonis/yolov6-nano:r2-coco-512x288", # 来自Luxonis Hub的模型标识
5)
6nn.setConfidenceThreshold(0.5)
7
8# 将RGB预览和检测结果添加到可视化器
9remote.addTopic("preview", rgb_stream, group="Camera")
10remote.addTopic("detections", nn.out, group="Camera")